The IG Wealth Management Walk for Alzheimer’s is Canada’s biggest fundraiser for Alzheimer’s disease and other dementias, taking place in more than 400 communities across the country.
The IG Wealth Management Walk for Alzheimer’s is Canada’s biggest fundraiser for Alzheimer’s disease and other dementias, taking place in more than 400 communities across the country. In 2019, Canadians participating in the Walk raised an amazing $6.2 million. These funds go toward local programs and services that improve the quality of life for people living with dementia and their families in our communities and support awareness and education about dementia.
U-Lock Mini Storage is pleased to be a sponsor of the Alzheimer’s Walk this year. The Walk was originally to take place on May 3rd but has been rescheduled to May 31st at 9:30 am. Due to COVID-19, the Walk is now a Virtual Walk in which participants can follow virtually or create their own walk (i.e. around their house, around their neighborhood).
Don, from our White Rock location, and his team are raising money in support of the Alzheimer Society of B.C. by participating in the online IG Wealth Management Walk for Alzheimer’s on Sunday, May 31.
If you can, please donate today and help Don and his team reach their fundraising goal! By supporting their team, you are helping the Alzheimer Society of B.C. continue to make a difference in the lives of people affected by dementia.
Thank you again for your generous commitment and support!
We wish to advise you that we remain open at this delicate time.
U-Lock Mini Storage takes the health and well-being of our staff, customers, and tenants very seriously. As such, we continue to monitor the COVID -19 situation very closely. We are following all federal, provincial and local advisories and doing what we need to keep everyone safe.
We have increased cleaning in all areas of our facilities and offices, paying specific attention to areas that are frequently used by our customers including but not limited to pin pads, doorknobs, elevators, and handcarts. Rest assured we are doing everything we can to stop the transmission of the illness. We have implemented a special contingency plan for staff and offer them the support to stay home if they are not feeling well to prevent the spread of any viruses.
Please remember that payments can be made over the phone or via our website www.selfstorage.ca. If you require any assistance with accessing your account online please contact us.
We wish you well and ask that you stay safe, enjoy time with family and support each other as well as our local community and businesses.
Imagine a world in which your computer desktop has a minimalist, pristine background, your files are perfectly named and easy to find, and you have useful file folders that actually have the files you were looking for! In honor of Clean Out Your Computer Day, here are a few tips to help you organize your digital world and get your computer running more smoothly!
1. Declutter Your Desktop
Our desktops are always the most cluttered area of our computers. They are a catch-all for files that don’t yet have a home, like screenshots, duplicate files, or digital sticky notes. First things first, go through all these files and drag those that serve no purpose (aside from taking up memory) and move them into the trash. To make sure your desktop stays tidy and organized, here’s a few tips:
Don’t use the Desktop as your default save location. Instead, save all your new files to your “Downloads” folder.
Use your desktop as a temporary working area and only save files to your Desktop for as long as you need them. For instance, your Desktop is a convenient place to save files while you’re working on them, but once you’ve completed the task or project, move those files to the folder they belong to.
Backup your computer. It makes it much easier deciding which files or documents to delete if you know you’ve backed-up your computer’s data to a physical hard drive.
2. Empty Your Downloads Folder
When was the last time you looked through your Downloads Folder? If it’s been a while, chances are it’s packed full of unnecessary files, like images, memes, screenshots, media files, and documents. Over time, these files can accumulate and take up a lot of memory on your computer. Drag files you no longer need into the trash and delete them. If there are files in there you can’t make a decision on right now, make a “To Be Sorted” folder and move those items into there for a later day.
3. Delete Useless Apps
Do you have apps on your computer that you downloaded and never opened? Or gave up on years ago but it’s still installed on your computer? If there’s an app on your computer that doesn’t bring joy or value to your life, delete it. You’ll be amazed at how much storage you can clear up.
4. Organize Your Files & Folders
Now that you’ve sorted through your digital clutter, it’s time to organize the files you are keeping into folders. You have documents for work, school, personal, as well as videos and photos, but these files should be kept separate. The system of organization you choose is totally up to you, but the best way to start is to create large, main folders and organize them by category, like “Personal,” “Work,” ”School,” or “Finances.” Once you have all your files in the appropriate main folder(s), you can now take your organizing a step further and create sub-folders within each main folder. For example, organize your videos based on dates taken or school work by class or subject. Once you’ve done organizing your files into the proper homes, create a universal naming system and stay consistent so you can always find what you need quickly and conveniently.
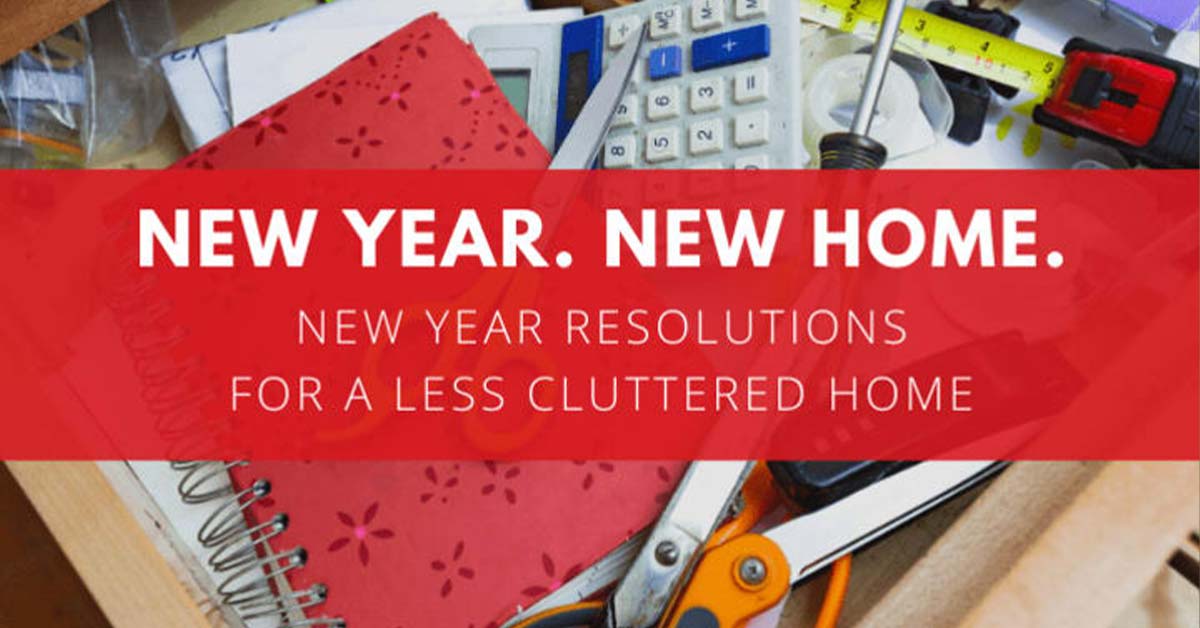
Almost every room in the home has at least one clutter zone – the nightstand full of odds and ends; the desk drawer packed with unopened mail; the mountain of shoes stacked in the entryway; the infamous junk drawer piled with all those knick knacks you have no idea what to do. Often just casualties of daily life, these areas are clutter magnets for anything and everything. With the new year upon us, it’s time to put a few minutes aside and transform these out-of-control clutter zones into clean-and-tidy spaces!
Completely empty out the spaces and organize everything into piles.
Throw out anything that belongs in the trash or recycle.
Put anything that belongs elsewhere back in its proper spot.
Try out a few different arrangements for your contents to find the one that’s right for you and stick with it.
#2 Wardrobe Update: Declutter Closet and Dresser Drawers
It’s super easy to accumulate clothing that you don’t wear anymore. As the years go by, our styles change, we outgrow things and we keep a lot of “just in case” or “back-up” options. Whatever the case may be, if you have clothing that’s uncomfortable to wear, haven’t touched in the past year, or hate the way it looks on you, donate it. If it’s stained, unusable or just falling apart, throw it away. To figure out what stays and what goes, try asking yourself:
Have I worn it in the past year?
Does it fit me?
Do I like the way I look in it?
If you answered “no” to any of the above questions, then you have some clothes to get rid of!
The kitchen pantry often becomes of hotspot of clutter. There’s a lot of things in there you don’t need – half eaten chip bags, numerous canned vegetables, opened boxes of cereal, snack bars and suspiciously old spices, to name a few. We often see these things on the shelf so often that we stop thinking about them, accumulating more and more. Not anymore! The new year is the perfect time to give your pantry a much needed makeover. Throw out stale or expired items, donate anything you’re not going to eat to your local food bank and if there’s anything in there you don’t remember buying, probably safe to say that can go too.
Paper accumulates in our homes fast. Our drawers and cupboards are full of receipts, unopened mail, take-out menus, instruction manuals and flyers. If you’re sick and tired of dealing with piles of paper in your home, here’s a few ways you can cut down on paper clutter:
Godigital. Change receiving your bank and utility statements and notifications from mail to email. Most banks and major utility companies will offer this.
Cutdownsubscriptions. Recycle your stacks of magazines and newspapers and switch to digital.
Buy a shredder. We often hold onto paperwork we don’t need because we’re worried about privacy. A small shredder is a simple solution for getting rid of that sensitive paperwork you don’t need.
Scaneverything. Notes with information you want to keep, old photographs or artwork from your children are a few of the paper items you can get rid of but still keep forever. Scan everything you can and save them on your computer, external hard drive or cloud storage. A scanner is a relatively low-cost option that will help you cut down on a lot of paper.
Wanting to clear up more space in your home? U-Lock Mini Storage has convenient storage locations across British Columbia and can provide the storage unit and services you need to enjoy a clutter-free lifestyle.
Looking for new ways to celebrate the holidays with your friends and family? Here’s a list of our top picks of fun holiday activities to get you into the holiday spirit!
Parksville
Take your family and friends over to the Morningstar Farm for a good ol’ fashioned Christmas celebration. There will be wagon rides, live music, storytelling and crafts. The Knockananna Grill will be serving fresh poutine, cheese & wine samples and pairings, free popcorn, marshmallow roasting, and hot chocolate.
When: Saturday, Dec 14th from 10:00 am – 3:00 pm.
Cost: $5.00 | Children under two: FREE
Walk the lighted grounds of the North Island Wildlife Recovery Centre and enjoy a fabulous display of laser lights, hot chocolate and even a visit from Santa himself.
When: Fridays & Saturdays Dec 6th – 21st from 6pm – 8pm.
Cost: Adults: $5.00 | Children (under 12): FREE. Admission is by pre-purchase only. Buy tickets online.
Nanaimo
Check out this annual family festival of lights and music in the Gardens. Wander lighted trails through the forest and visit the Teddy’s Bear cottage, Santa’s Den, and Gingerbread House display. Visit the Milner House and discover the Storytelling Room, Christmas Gift Shop, the Camellia Tea Room, and listen to local musicians in the Dining Room.
When: Dec 6th – 8th | 13th – 15th | 18th – 22nd from 5pm – 8:30pm
Cost: Entry is by donation.
Enjoy special lighting & decor in this magical skating event happening at the Oceanside Place Arena in Parksville.
When: Dec 14th – 31st
Cost: Click here for the public skating schedule of free skating events.
Join Nanaimo Parks & Rec in a skate with Santa, prizes, draws and some hot chocolate and treats.
When: Dec 18th from 6:30 – 8:00 pm at the Frank Crane Arena
Cost: Regular admission rates apply
When: Dec 20th from 3:45 – 5:15 at the Nanaimo Ice Centre
Enjoy 12 nights of holiday magic aboard the Christmas Express, a 1910 locomotive, and travel through thousands of twinkling lights across 100 aces of woods at the BC Discovery Centre.
When: Dec 6th – Dec 8th | Dec 13th – Dec 15th | Dec 18th – Dec 23rd
Cost: Adults: $14.00 | Children: $12.00 | Children 2 and under: FREE
Victoria
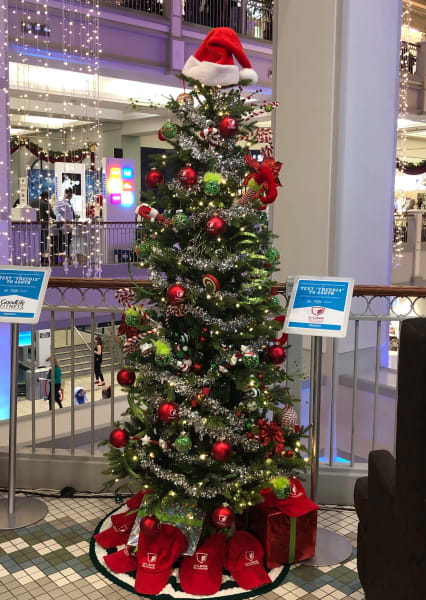
The Festival of Trees is happening until at the Bay Centre in Victoria, BC. Tour a forest of hand-decorated trees done by local sponsors, businesses and organizations. Donate to vote for your favourite tree and help raise money for the BC Children’s Hospital.
When: Now – Jan 6, 2020
Cost: Click here to donate to the BC Children’s Hospital
Join us in helping BC’s kids by donating to our fundraising campaign by donating online or texting TREE014 to 45678.
Stroll through the Twelve Days of Christmas display, have a cheerful time under colorful lights, sing along with carollers, or lace up your skates and step onto the outdoor rink. Then warm up by the fire with a hot chocolate at the Coffee Shop.
The first-ever Lights of Wonder takes place at Centennial Square. This outdoor event features themed light exhibits, four interactive light tunnels, and a 40-foot festive tree. With free admission and for all ages, Lights of Wonder offers live entertainment, warm nibbles, and magical light displays.
When: Dec 13th – Dec 30th
Cost: FREE
Vancouver
The eight tallest Christmas trees in the world?! – the 30-ton Douglas firs of Treetops Adventure receive the star treatment. Be amazed by hundreds of thousands of lights throughout the Capilano Suspension Bridge, Treetops Adventure, Cliffwalk, the rainforest and canyon.
When: Now – Jan 26th, 2020
Cost: Family Passes (at the gate): $109.00 | Buy online: $99.00.
The 10th Anniversary Vancouver Christmas Market features more than 80 huts of German sweets, treats, and treasures.
When: Now – Dec 26th
Cost: $8 Early Bird Admission (at the gate) on Weekdays before 2pm | Buy tickets online.
Experience Canada Largest Winter Festival at Hastings Park/PNE. Escape to a hidden village with a beautiful skating rink, a tube park, massive light displays, a Christmas Market, amusement rides, food gardens, magical characters, and much more.
When: On select nights now through January 5, 2020 (closed on Dec 3, 4, 10, & 11th)
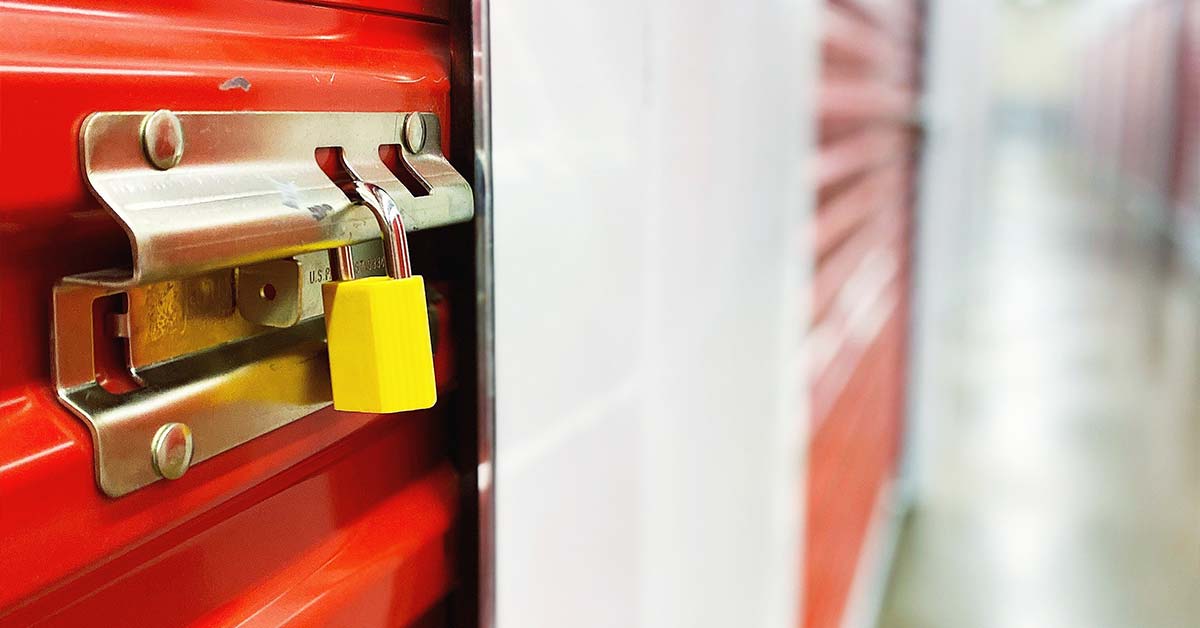
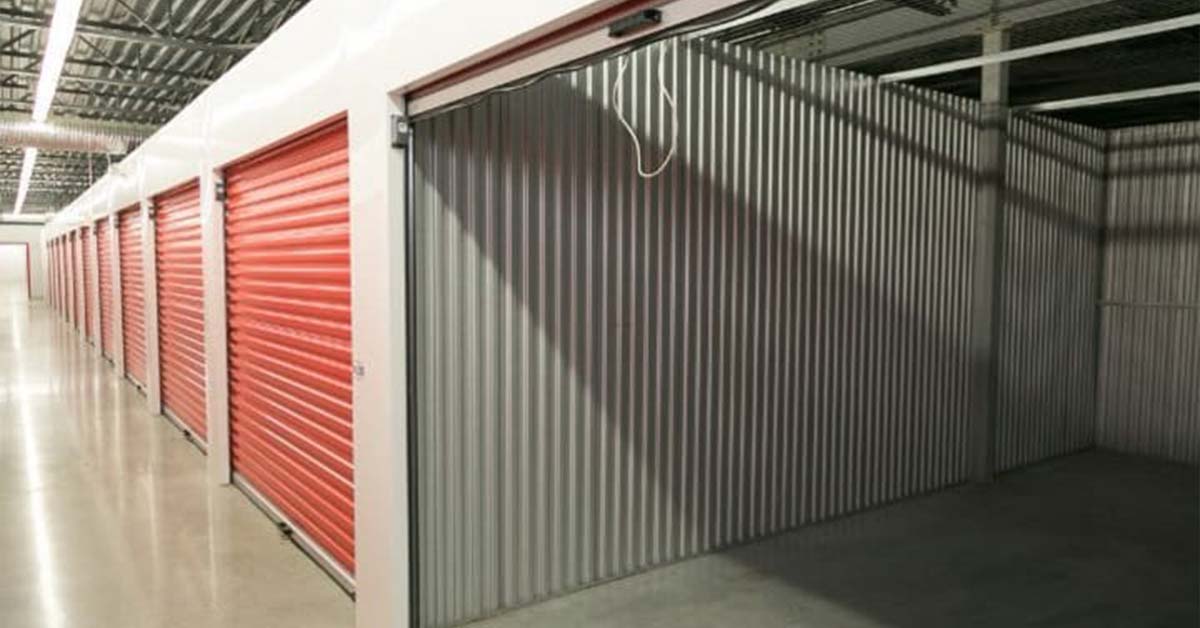
When moving out of one home to another, a self storage unit is a perfect storage solution for many things, but there are a few items that for safety and legal reasons, cannot be stored. Like any other rental space, there are limitations in your lease on what you can store, and if you fail to comply with these policies and regulations, you could be responsible for any potential damage that may occur. To save you time and stress when you are in the middle of your next move, here’s a list of things you should never put inside your storage unit.
1. Food & Perishables
Storage units cannot be used as a pantry. Food and perishable items left for a prolonged period of time can attract unwelcome critters like rodents and insects that can not only destroy the items in your unit, but in neighboring units as well. Secondly, expired foods will rot and start emitting unwanted odors, creating favorable conditions for bacteria and mold to grow and spread inside your unit. To avoid these issues, simply keep perishable food items out of your storage unit.
2. Animals
Goes without saying, right? Never leave a pet or any animal inside a storage unit! Storage units cannot serve as kennels for your pets, or a holding space for exotic animals. If for whatever reason you can no longer care for a pet after a move, leave your pet with a family member, trusted friend, or adopt them to another person that will provide the loving home the animal deserves.
3. Plants
Storage units cannot provide the three essentials plants need to survive: sunshine, water and fresh air. Furthermore, plants can attract pests and insects, potentially creating more problems. If you cannot find the space for your plants in your current residence, consider storing your leafy friends with family, friends, or giving them away to interested people who want to take care of them.
4. Wet Items
Before you put your items in a storage unit, whether it be heated storage or non-heated storage, make sure they are 100% dry. Moisture will create the right conditions for mold, mildew and bacteria to spread in your self storage unit, causing serious damage to your possessions.
5. Dangerous Materials
Any items that burn, explode or corrode can pose serious risk to human health, lead to costly property damage, and are forbidden by law. Strongly prohibited hazardous and combustible materials that cannot be stored inside a storage unit include: fuels, chemicals, acids, gases, pesticides, liquor, fireworks, and medical waste. If you are unsure about the items you are storing, always inquire with your storage company first.
6. Cannabis
With the legalization of cannabis, you may be wondering if you can store it inside a storage unit. The simple answer, no. You cannot store or grow cannabis inside a storage unit.
7. Unregistered Vehicles
Only vehicles that are registered, fully operational, and have storage insurance may be stored at a storage facility. This includes cars, trucks, boats, trailers, RVs and motorcycles.
8. Irreplaceable Items
While storage companies take many precautions to keep their sites safe and secure, a storage unit is not an ideal place to store valuable, one-of-a-kind items such as money, jewelry or important documents like passports, birth certificates, or family photos. It is recommended you keep such items in a safety deposit box in your bank or invest in a high-quality safe for your residence.
Insure your belongings
Now that you know what can and cannot be stored in your storage unit, it’s time to look into the proper insurance you need for your belongings. Storage companies are responsible for maintaining the safety of the site, but are not responsible for your personal belongings. Getting proper coverage for your items will ensure your belongings are protected in storage and give you peace of mind.
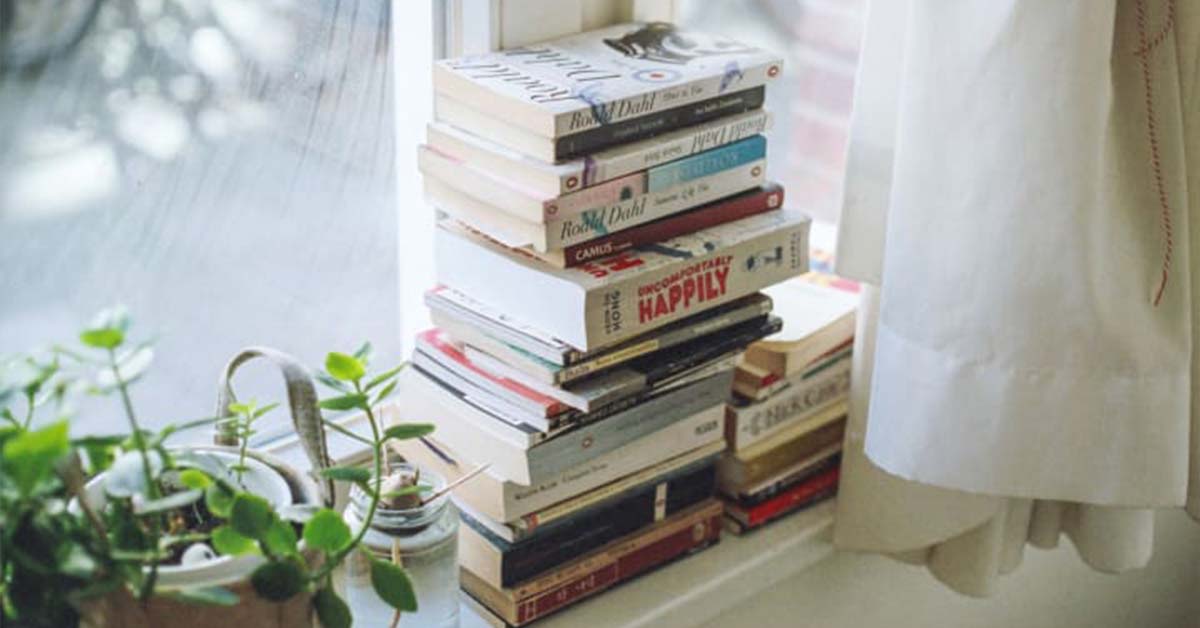
With an array of sizes available, a storage unit is a great option to keep your book collection safe when you are in-between moves or trying to make more room in your home.
With an array of sizes available, a storage unit is a great option to keep your book collection safe when you are in-between moves or trying to make more room in your home. It’s easy to simply throw your books into a box and toss it into storage, but if you don’t want your books to be potentially damaged from things like mildew, warping or staining, here are a few precautions you can take to protect your paper and hardcover books.
Clean
Packing your books away covered in residue dirt and dust can lead to soiling or staining.
Clean the cover using a soft chemical-free or magnetic cloth by holding the book tightly shut and wiping from the spine outwards towards the edges of the pages.
Take your cleaning a step further by turning your book upside down and vacuuming the book’s edges with a dusting brush attached to your vacuum. Make sure to remove the book’s dust jacket before vacuuming.
Cleaning and dusting your books before putting them into storage will ensure they stay in good shape.
Air out
Books that have been shelved or stored for a long time can start to smell musty. Make sure your storage unit doesn’t end up smelling like an old bookstore by airing out any musty or damp feeling books in a dry room for at least 24hrs. Damp books are very likely to mildew if packed away still damp, even in a heated storage unit, so make sure to thoroughly air out your books before packing them away.
Protect
Dust jackets. You know those outer covers on books that you find ever so annoying? Those are dust jackets and they’re actually very useful in maintaining a book’s value! Dust jackets are a book’s first line of defense and protect against scratches, tears, scuffing, dirt and dust. It’s always recommended that you store your books with the jacket on.
Wrap your books
Wrapping rare or limited edition books is an easy way to provide extra padding and protection. When wrapping your books, consider the following:
Do not use plastic bags. Plastic traps moisture, which can lead to mold and mildew that can damage the book terribly.
Do not use newspaper. The paper is acidic and the ink that can cause damage to the book.
Remove any bookmarks or pressed objects from the pages in the book to prevent wrinkles, stains, and other forms of damage.
Instead, use acid-free archival paper to wrap your books. This material is durable, prevents yellowing, and can be safely used for long-term storage and preservation.
Store
Cardboard moving boxes are great for short-term storage. Choose boxes designed to protect paper products, like acid-free archival quality boxes, for long-term storage.
Pack your books into several small to medium boxes so they won’t be too heavy to move.
To avoid warping of the spines or cracking of the hinge, don’t pack your books with the binding or spine pointing up. Instead, lay the books flat inside the box and stack large to small.
Pack your books tight enough inside the box so they don’t shift and damage in transit, but at the same time, don’t pack your books really tight together as this may lead to bending or warping.
Always keep your boxes off the ground so they are not vulnerable to flooding or moisture from the concrete. Once in storage, try to check on your book collection at least once a month.
Putting into Self-Storage
When choosing a storage unit for your book collection, seek a heated or climate controlled storage unit. These units will provide a clean and dry space that can protect your books against extreme temperature fluctuations and humid conditions that can lead to yellowing, wilting and other damage to sensitive print materials.
If you run a business, you know how quickly space can fill up and how expensive commercial space can be. Not all equipment, materials, and inventory are needed for every job, so where do you keep it all? A storage unit may be the solution you’ve been looking for.
Businesses That Can Benefit From a Storage Unit
If you run a business, you know how quickly space can fill up and how expensive commercial space can be. Not all equipment, materials, and inventory are needed for every job, so where do you keep it all? A storage unit may be the solution you’ve been looking for. Here’s a few reasons why:
Storage units cost significantly less than commercial space.
Commit to a month-to-month agreement instead of being locked into a long-term lease.
Month-to-month payments allow you to grow or shrink your business on your own terms.
Storage facilities often accept package deliveries on your behalf so you can keep all your correspondence and deliveries conveniently in one place.
E-commerce
Buying and selling items through an e-commerce website like Amazon, Etsy, or eBay requires a lot of space and storage. Handcrafted, vintage, or merchandise items can accumulate fast. A storage unit can provide a dedicated space for your entire inventory to free up space in your home so you can focus on the day-to-day operations. Look for storage providers that offer monthly lease agreements so you can upgrade or downsize your unit based on the needs of your business.
Sales Representatives
Keeping stock samples and promotional materials in your car, garage, or home is not ideal for any sales rep. Storage units offer an off-site location where you can easily access your products and supplies on-the-go. Take advantage of the extra space and store large display items for events like signs, tables, and tents. Eliminate the hassle of having to be present for your packages by finding a storage facility that will accept and receive deliveries on your behalf.
Contractors
House, landscaping, and construction contractors manage expensive tools, materials, and equipment that require a lot of storage that trucks and trailers can’t adequately provide. Store items like this in a secure storage facility that has passcode entry, video surveillance, alarmed and monitored units, and high-security cylinder locks.
Cleaning Services
Expand your cleaning business while keeping costs down by storing your cleaning supplies in a storage unit. Find a storage provider that offers flexible hours of access so your employees may access the unit anytime they need to during your business hours.
Realtors
If you’re a realtor, you know the struggle of finding a place to store the abundance of promotional materials required when selling a home. A storage unit is a simple solution for yard signs, promotional handouts, signs, and lockboxes.
Interior Designers
Store and receive furniture, decorative items, and other household items between house sales in a clean environment with a heated storage unit. Look for a drive-up access storage unit so you can load and unload furniture with ease.
ed to rent a storage unit but have no clue what size you need? It can be difficult determining how much space you may need, especially if you are renting a storage unit for the first time.
Need to rent a storage unit but have no clue what size you need? It can be difficult determining how much space you may need, especially if you are renting a storage unit for the first time. Every storage facility offers a variety of sizes, but which one is best to fit your needs? To avoid renting a unit too big or small, check out the following guide for an estimate of how much can fit in each size unit:
5×5Unit: Ideal for items such as chairs, boxes, miniature desks, golf clubs, tires, seasonal items, documents & records.
5×10 Unit: Recommended for a small one-bedroom apartment or dorm (without appliances). Ideal for chairs and small dining set, bicycles, boxes, kitchen appliances, small mattresses, or a motorcycle.
10×10 Unit: Recommended for a large one-bedroom or small two-bedroom apartment/condo. Ideal for storing small to large items such as large appliances, furniture, king-size mattresses, and furniture.
10×15Unit: Recommended for storing the contents of a two-bedroom condo or townhouse. Store items such as landscaping equipment, business merchandise, large furniture, or full dining room.
10×20 Unit: Recommended for the contents of a three-bedroom home, small business, or vehicle. Store small to large items such as excess inventory, warehousing, sports equipment, small furniture sets, and boxes.
10×30 Unit: Recommended for a four-bedroom(+) home with appliances or commercial inventory. This size is ideal for the contents of a large home.
Contact the location nearest you to start getting organized today. If you’re not sure what size you will need, our team of experts are here to help. We’ll assess your situation and make recommendations based on your needs and budget to make sure you get the right size to get the job done.
Are you a little bit of a pack rat? Not to be confused with hoarding, we’re referring to those who rarely throws things away out of the idea that “one day” they may need it. For example, is your kitchen drawers full of old take out menus? Closet stuffed with clothes you haven’t worn in over a year? Is there a stack of old DVD’s piled around your TV that you know you’re not going to watch again? If so, then it might be time to put a day aside to take the time to look around your home and determine if you have things you don’t need and thin out those non-essentials for good. Trust us, you’re going to find it exhilarating when you do! All that purging and organizing will eventually lead to a more organized and functional home for you to enjoy.
How do I start?
When we begin the journey to declutter, organize, and tidy our home, we always think the same thing: “I have too much, I don’t know where to start!” The key is to not try to declutter your whole house in one day. We like the ambition, but you may find yourself feeling overwhelmed quickly. Instead, start small. Start your journey by organizing a small area first, like your desk or junk drawer. Approach it one day at a time, one drawer at a time. Once you’re in the decluttering flow of things, transition into tidying and organizing one room at a time.
Declutter Rules
According to 31 Days to Declutter Your Home, there are 8 purging and declutter rules to keep in mind that will help you get the most out of your purge.
One-year rule If you haven’t worn it/used it/looked at it in a year, get it out of your house.
Broken beyond repair It’s broken, it’s busted, it’s a goner. Get it gone.
Not even yours This is the worst type of clutter – you don’t even own it! Give it back to the person who does.
Guilt Life gets busy, and you shouldn’t put more pressure on yourself by feeling responsible for things. They are just things, and don’t get you any closer to your goals.
“Just in case” Think about your items you keep for this reason. Have any of those events come up when you actually needed them? Maybe, but it doesn’t matter right now.
Publications Magazines and newspapers are old; the information contained in them is likely outdated. All of this information is easily found on the web.
Done There are items we are just done with, but haven’t gotten around to getting rid of them. Now is that time!
Simply the best Only put back into your closets and cupboards the best of what you own or things that you simply cannot part with.
How do I decide what stays and what goes?
How many times have you thought to yourself, “I’ll use it one day” or “it is worth something”? Before you know it, every room becomes storage for something. That mentality will keep you from purging things that really should go. If you won’t use it in the near future or can’t sell it, then it’s most likely not worth keeping. Rather, consider donating or just calling it what it is, trash. To determine what stays and what needs to go, here are three questions you can ask yourself:
Does this compliment my life?
When was the last time I used this?
Do I truly need this?
The answers to these questions can help your clutter impulses and allow you to clear out the space and move on.
Recycle Used Electronics
You may return your used electronics for recycling to the following retailers:
Best Buy stores accept items such as electronics and batteries for recycling.
Staples office supply stores take electronics, batteries and printer ink/toner cartridges for recycling.
London Drugs stores collect small electronics and other items for recycling.
You may also recycle your old phones to telecommunication providers such as Bell or Telus. Apple Canada and Sony Canada also take back their own products for recycling. For more information on electronics recycling near you, you may visit https://www.recyclemyelectronics.ca/
Need some inspiration? Here’s 30 things you can get rid of right now!
Expired coupons
Broken, old, unused electronics
Take-out menus, utensils, sauce packets
DVDs you know you will never watch
Expired medications
Expired spices and pantry items
Power cords for devices you no longer use
Extra wrapping paper, ribbons and bows
Perfumes and colognes you no longer wear
Expired makeup
Greeting cards
Socks without a match
Books you never read and/or have not referenced in 3+ years
Old receipts for items you can no longer return or exchange
Chipped plates, mugs or cups
Clothes you haven’t worn in over a year, have outgrown, or are torn and/or stained
Memorabilia
Tupperware containers without the lids
CDs
Board games with missing pieces
Furniture manuals
Broken holiday decorations
Duplicate cooking utensils
Old calendars
Old prescription glasses or sunglasses
Old wallets
Touristy knick knacks
Gifts you don’t like but are still holding onto
Worn out or dirty shoes you no longer wear
Things that don’t even belong to you! (return back to the owner)