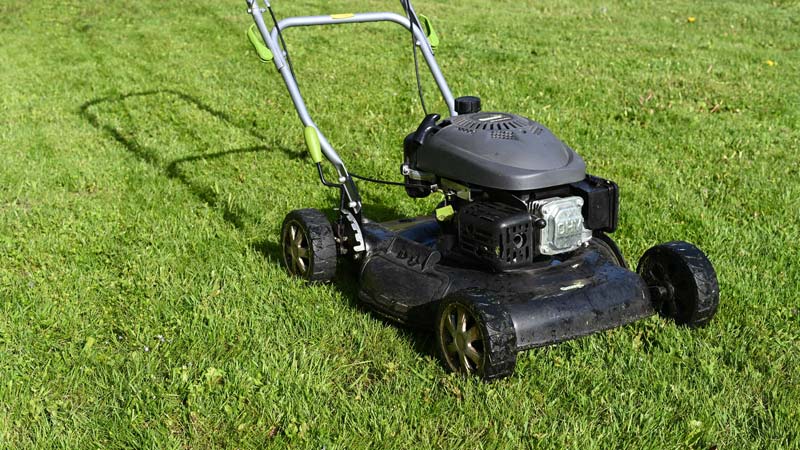
When storing a lawn mower for the winter, there is a wide range of recommendations. Some people go through every step meticulously while others leave their mowers outside in the snow and hope for the best. However, one thing is for sure: the most important thing you can do when storing a lawn mower is to tend to the fuel system. Taking this step will dramatically reduce your chances of problems come the warm season.
Now that you’re at it, don’t stop there. No one wants to have to tinker with a broken mower or buy a new one at the start of every season. It is worth it to prepare your lawn mower for winter like you would a car or boat, especially if you have an expensive riding mower.
These lawn mower storage steps will help maintain your equipment and increase its longevity. Cover as many steps as you can, and make sure you take all the proper precautions when winterizing your mower.
1. Drain Gas or Add a Fuel Stabilizer
There are two methods for lawn mower storage when it comes to gasoline. You can either leave the gas in the tank and stabilize it, or remove it completely. It is never a good idea to just leave fuel in the tank without any intervention. Fuel can start to degrade in a month or two and can wreak havoc on the carburetor and fuel tank.
How to Remove Gas from a Lawn Mower
In some circumstances, it is essential to remove all the gas from a mower when storing it for the winter. If you are keeping your lawnmower in your basement or inside a storage unit, remove all fuel. Not doing so creates a fire hazard.
To drain gas from a lawn mower, do your best to let the tank run dry toward the end of the season. To accomplish this, run the mower until it stops and won’t restart again. Any remaining fuel can be siphoned out with a turkey baster.
How to Add Fuel Stabilizer to a Lawn Mower
If you are storing the lawn mower in a detached garage or shed, leave a full tank of gas and top it off with a fuel stabilizer. Once the stabilizer is added, run the mower for a couple minutes to be sure the stabilizer gets into the system.
2. Prevent Mower From Kick-Starting
Before you clean your lawn mower and prep it for storage, make sure you remove the spark plug; this will prevent the mower from being turned on accidentally. The importance of this step cannot be underestimated.
3. Drain or Change Oil
It is important to change a lawn mower’s oil at the end of every season, if necessary. The first step is to figure out if you have a two-cylinder or four-cylinder lawn mower. Two cylinder motors have the oil and fuel in the same tank, in which case you can drain the oil along with the fuel. On four-cylinder motors, the oil will need to be changed similarly to how you would on a car. Refer to the lawn mower’s owner manual for specific instructions on how best to do this.
In general, you can follow these steps on most four-cylinder mowers:
- Check the level of the oil by removing the dipstick.
- Make sure the oil is warm by running the mower after adding fuel stabilizer or when draining the tank. If you waited for this step and the engine is cold, connect the spark plug temporarily and run the mower for 10-15 minutes.
- Remove the spark plug again if you reconnected it to warm up the engine. If your mower has a battery, disconnect it.
- Pull the oil plug and drain the oil into an oil-safe drain pan.
- Properly discard used oil by bringing it to a recycling facility that can properly dispose of it.
- Add new oil to the tank according to the manufacturer’s recommendation.
Lawn Mower Storage Pro Tip: If you have inconveniently positioned drain plugs, consider purchasing an oil extractor to help with this process.
4. Clean Deck and Undercarriage
A garden hose or a pressure washer on a low setting will work well to clean the lawn mower’s deck. In theory, grass should be cleaned off after every mow. However, if bits of grass have dried and crusted onto the metal, make sure to remove it before storage. If necessary, take a wire brush, putty knife or a flat head screwdriver to scrape off anything that the hose did not clean.
Be careful of the mower blades and make sure to wear thick, durable gloves during this process. Once the undercarriage is clean and dry, use a silicone spray to prevent future build-up and better preserve the lawn mower.
5. Remove and Sharpen Blade
To remove the blade, lean your mower on its side with the carburetor facing up. Find a long-handled wrench that matches the bolt holding the blade in place. If the bolt is stuck in place and corroded, spray some oil or lubricant on it and let it sit for a few minutes.
Once removed, sharpen each blade evenly. You do not want to make the mistake of sharpening only one section because this could lead to an uneven lawn. To do this, clamp the blade in a vise and use a mill bastard file to file down the blade until it is as sharp as a butter knife.
Lawn Mower Storage Pro Tip: Once you remove the blade, mark it with a paint pen, so you know which is the top and which is the bottom. One common mistake people make is to reinstall the blades upside down.
6. Replace Spark Plug and Air Filter
At this point, the spark plug should already be disconnected. Use a wrench or pliers to completely remove the plug. Take the plug with you to the store to make sure you purchase the correct replacement. Next, screw in the new plug and either reconnect the wire or leave it disconnected for storage.
Before storing a lawn mower for the winter, you will want to either clean or replace the air filter. Some lawn mower filters are made of paper and should always be replaced when they look dirty. Other filters like foam or plastic filters can be cleaned, dried and then coated with a few tablespoons of oil before being reinstalled. While you are at it, use a spray lubricant to coat any exposed lawn mower components.
7. Keep Mower Covered In Storage
To protect the exterior and interior components, consider investing in a lawn mower cover. If you don’t have a cover readily accessible, you can use a tarp.
We hope this article puts you off to a good start so you know what to expect when you store your lawn mower. Whenever possible, make sure to reference the owner’s manual. If you don’t have a copy, most times the manufacturer will have a copy online that you can download.
We offer storage solutions to our clients across Greater Vancouver,Vancouver Island and the Fraser Valley with storage units in Chilliwack (Chilliwack U-Lock Mini Storage), South Surrey and White Rock (White Rock U-Lock Mini Storage), Burnaby and Vancouver (Burnaby U-Lock Mini Storage), Victoria (Victoria U-Lock Mini Storage), Nanaimo (Nanaimo U-Lock Mini Storage) and Parksville (Parksville U-Lock Mini Storage).
Please contact a U-Lock Mini Storage self-storage facility near you to inquire about our storage units and our team members will be delighted to answer any questions you have!


