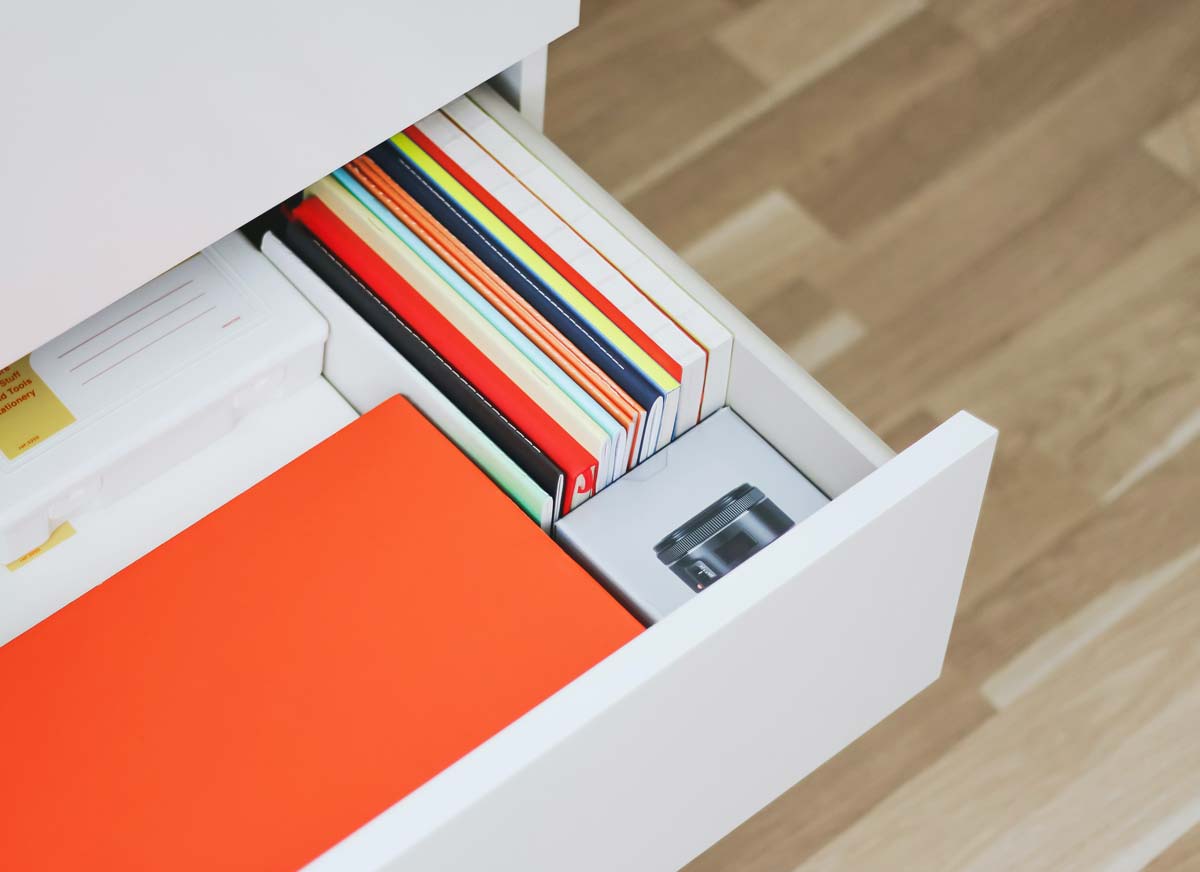
Drawers are a fantastic way to compartmentalize one’s belongings. But, it can also get real messy, real fast… Especially if you clean with the “out of sight, out of mind” approach. From office desk drawers to “junk” drawers, let us teach you how to reverse the entropy in those pesky little compartments in 4 easy steps.
1: Emptying and Dusting the Drawers
Emptying out the drawer is a great idea to understand what exactly has been packing inside. Although you can still attempt to organize the drawer with all your belongings inside, it won’t be as effective to declutter for step 2, and be especially difficult for cleaning the dust out of the drawer itself.
Next, use a handheld vacuum or hose attachment to remove the dust that has accumulated inside. After all the dust has been removed, you can move onto using a cleaning spray on the drawer and subsequently wiping it clean with a microfiber cloth. If you spot any stubborn stains, baking soda and a wet brush works as a gentle exfoliant.
2: Sorting & Decluttering
Now, turn your attention to your pile of belongings you’ve removed from the drawer and categorize the items on utility. This is a great way to determine if you should actually keep the items. As you’re doing this, keep an eye out for items that are damaged and sort those into items that you would fix, recycle, or throw away.
Although it can be tough to say goodbye to your possessions, here are 4 helpful questions to help you decide if you should keep your possessions.
- Have you used the item within the last six months?
- Do you foresee yourself using this item in the near future? Some seasonal items are exceptions to rule 1, as they can be cycled between storage and drawers as necessary.
- Would you purchase this item again? If not, and you’ve said no to rules 1 and 2, it’s time to let it go.
- Would you keep the item if you were movin? If not, it’s time to say goodbye.
Finally, consider the size of your drawer. If it’s a small drawer, don’t expect to keep more items than what you are able to fit within it. As for the no-pile, they can be sold at a garage sale or donated to a local charity shop.
3: Designating space for the organized items
Similar to the previous tip, it is important to organize the drawers to make sure you have enough space for everything you’re choosing to keep, and that you’re able to categorize these items efficiently.
For example, if you have a drawer full of power tools, screws, and mail, consider removing the mail into another safe place in your office drawer. Similarly, instead of folding hoodings and placing it into a dresser, the most efficient use of space would be hanging it up. The bottom line is that you’re keeping only the essentials in your home, and you’re doing so in a way that maximizes the space you have.
4: Getting creative in categorizing your belongings
You’re all set in organizing your drawers and deciding what to keep. For items that are small and may require further sorting, the next step may be to think about getting dividers to keep things neat. Drawer liners are a great choice in dividing the space into usable sections, and they are also great in helping to minimize dust. A liner without holes is great for preventing any dust accumulation on the drawer underneath, and it is also easier to clean than going back to step 1.
However, if you are on a tight budget, shoe boxes and cereal boxes are great make-shift containers for organizing dresser drawers. The bottom of cereal boxes are great too for storing silverware and utensils. Egg cartons and ice-cube trays are also a good method for storing smaller items, such as jewelry, on a budget.
And finally…
There you have it! Four steps to cleaning and organizing your drawer. However, if you’re someone who has gone through these four steps and still aren’t able to part with their belongings, it may be time to look into a self-storage unit to tidy your belongings. And conveniently – these 4 steps are great for organizing your drawers in the storage unit too!
At U-Lock Mini Storage, we have storage facilities across Greater Vancouver and Vancouver Island. Our facilities include self storage Victoria, self storage Parksville, self storage Nanaimo, self storage Burnaby, self storage White Rock and Surrey, and self storage Chilliwack. Contact us if you have any questions!

